Species: hybrid of E. gibbiflora var metallica and E. potosina
I've been searching for a purple echeveria (formally called Perle von Nurnberg) for quite a while now. I planted it in a green pot that I've been saving, as I knew the colors would compliment each other nicely. I covered the soil with a layer of reindeer moss which is a great alternative to stones. Like most succulents; this plant should be given lots of sunlight and very little water. It is also important to use a pot with drainage holes, this will prevent root rot which happens when the roots sit in water for too long. If you want to use a pot without drainage holes you can fill the bottom with a layer of stones or gravel and be very careful not to overwater.
Notice the gorgeous stem of coral flowers which produce in the Spring and Summer months
Thanks for stopping by... Have a fabulous weekend!!
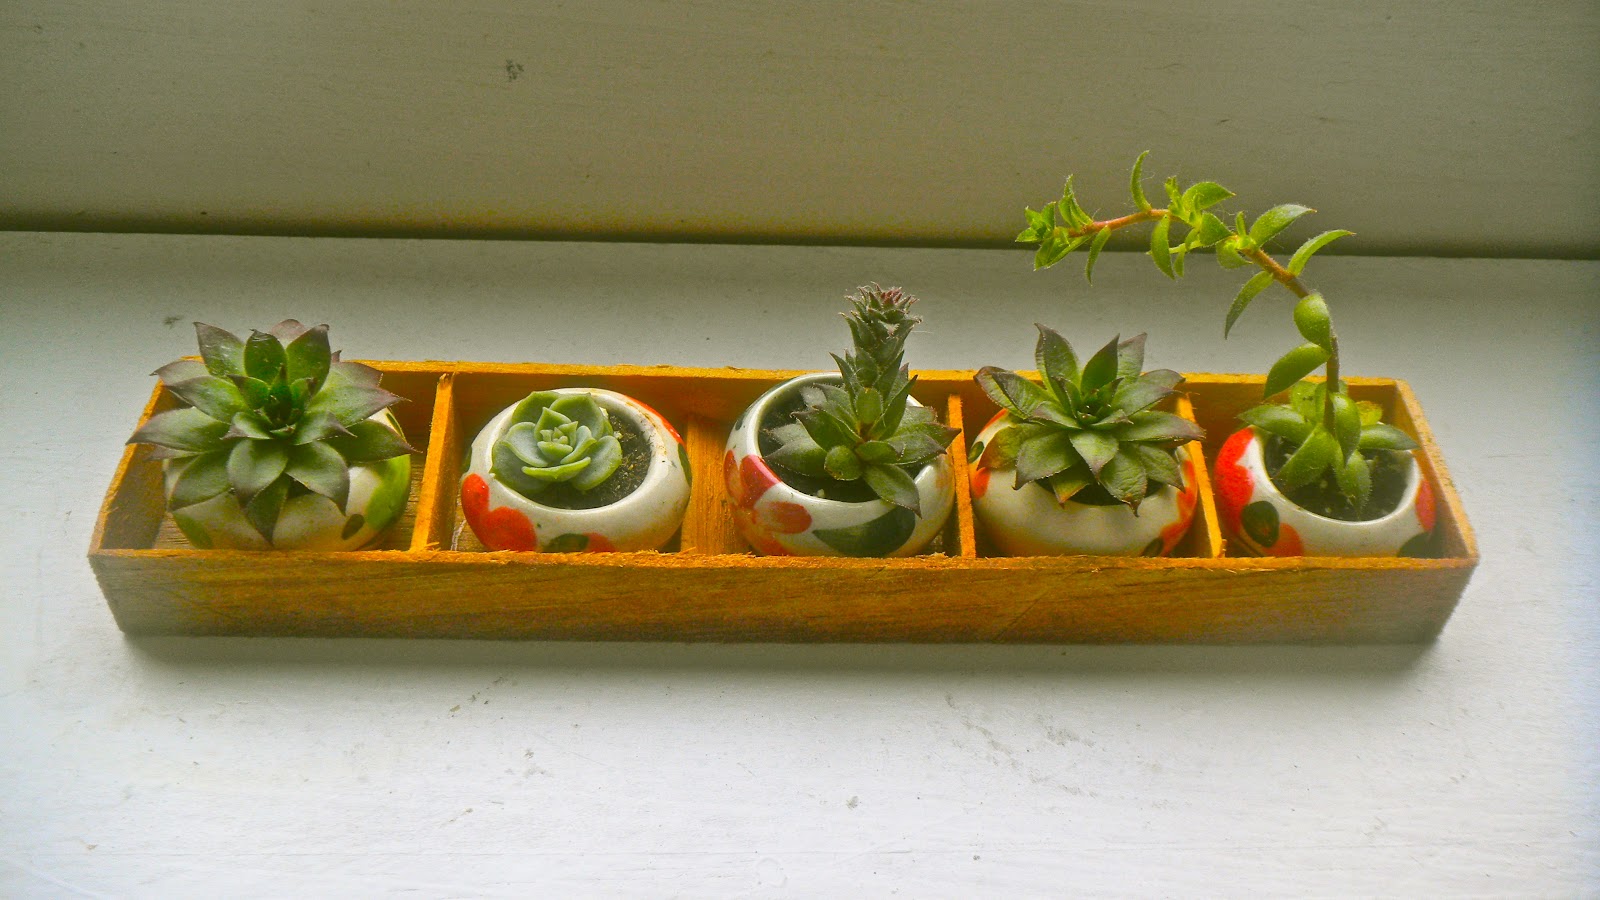
Varying in size, color and type amplifies cute factor
This is my most recent succulent project. These adorable little pots were originally filled with tea lights. I lit the candles and they latest all of 20 minutes (such a rip)! I love that they are hand painted and I really wanted to find another use for them. It didn't take long to think of my succulents. :)
* First: I filled the mini pots with a pinch of gravel and topped with succulent soil.
* Second: I clipped the cuttings from my Hen and Chicks. See the pic below.
*Third: I trimmed the stems of the cuttings very short (about 1/4 inch) and stuck them in the soil.
When dealing with succulent cuttings in general, it is usually a good idea to let the cutting callus over before placing it in the soil. You can do that by laying the cutting on a small plate and leave it alone for a few days. Some people even dip it in a rooting hormone before planting. I chose not to do any of this today because Hens and Chicks are really easy to root and I didn't feel like waiting. Unlike most other plants, it is best NOT to water your chicks after planting. Wait at least a of couple weeks. Due to the fact these pots are so small they are only going to need about 1 tsp of water at a time, every 2 weeks or so.
I am so excited to present this video that I worked on with THE DAILY! Mother's Day is right around the corner and there isn't a mom in the World that doesn't love receiving flowers. Unfortunately, prices double or triple as appreciative children, husbands and partners rush to place last minute orders through a florist. To avoid this expense and the potential of impersonal flowers, I demonstrate how to arranging them yourself. Additionally, you can always customize a bouquet using her favorite flowers. I chose peonies, lilacs and hydrangeas because in my opinion there is nothing more feminine than a peony, lilacs smell AMAZING, and hydrangeas are inexpensive and dry beautifully.
Step By Step Instructions:
* When you get home from the store with your flowers immediately remove rubber bands, plastic wrap. Trim stems 1 inch and put in warm water.*
1.) Always start with a clean vase or container.
2.) Fill vase 3/4 full with warm water.
3.) Add flower food and stir until dissolved. (Use packet from flower shop or make your own, see recipe below).
4.) Tape grid using floral tape. Start with your first strip of tape in the center of vase and continue, then cross the opposite way. The grid holes should vary in size based on the thickness of stems. This grid will help keep the flowers in place.
5.) Remove all leaves and foliage, unless you want to include it in your bouquet. Always remove all leaves that will fall below the water line, this prevents rot.
6.) Lay out flowers and sort by type.
7.) Trim stems by cutting at an angle; the slanted cut allows for more water absorption.
8.) The peonies should vary in height 1-3 inches taller than the vase. The lilacs and hydrangeas should be cut to the same height as the vase.
9.) Start with the peonies. Place the tallest stem in the center of the vase and work your way outward. As you move outward the stems should get shorter, thus creating a dome. Alternate hydrangeas and lilacs around the perimeter of the vase.
* To keep your flowers alive longer, trim the ends of the stems and replace water and flower food every 2 - 3 days.
Other names: Donkey's tail, Burro's tail Origin: Mexcio Family: Crassulaceae Genus: Sedum Light Requirements: full sun to filtered light Water Requirements: drench well and let dry fully between waterings Best Pot: Hanging planter
This exceptional plant is an explosion of beauty. It's erotic dreadlocks are yet another example of nature's incredible imagery.
When I first started researching this plant I was a little unsure as to whether it was Sedum Burrito or Sedum Morganianum. As it turns out the two are often confused and hard to distinguish one from another. Sedum Burrito was officially titled a distinct species in 1977, however the information was recorded from two plants that were bought from a nursery in a small town outside of Guadalajara, Mexico and no data has ever been collected from the wild. Sedum Morganianum was titled in the 1930's from cultivated material in the same small town. Some people believe that Sedum Burrito is a hybrid, but there is no definitive answer as to who both parents are... Clearly Sedum Morganianum would be one, but the other isn't as obvious. The main difference that I can see is that Sedum Burrito's leaves are a little shorter and a little rounder than Morganianum's. You can see the difference in the pics below.
Sedum Burrito: shorter, rounder leaves and stronger stem
Sedum Morganianum: longer leaves and weaker stem
I own a smaller sized Sedum Burrito and I'm eager to watch it grow into long, thick locks! However, it's going to be a while because apparently this plant grows pretty slowly. The longer it gets, the heavier the stems will get and breakage will more than likely occur. The bright side of a stem breaking off is you can easily propagate it by sticking it in a pot filled with succulent and cactus soil; it should root on its own in a couple of weeks.
My Sedum Burrito in a windowsill
Notice how the leaves are growing upward instead of down like the other photos I put up. This tells me I need to get this plant in a hanging planter because the leaves are growing towards the light and will eventually get too heavy.